> ## Documentation Index
> Fetch the complete documentation index at: https://learn.art-opia.com/llms.txt
> Use this file to discover all available pages before exploring further.
# Get started with your art collection
> Create your Artopia account, add your first artwork, and organise your collection in a few simple steps.
 This guide walks you through everything you need to go from a blank slate to a fully organised art collection. By the end, you'll have an Artopia account, your first artwork on record, and a structure in place to keep your collection growing neatly.
Go to [app.art-opia.com/signup](https://app.art-opia.com/signup) and register with your email address. No credit card is required to get started. The free plan gives you room for up to 50 artworks and 2 GB of storage straight away.
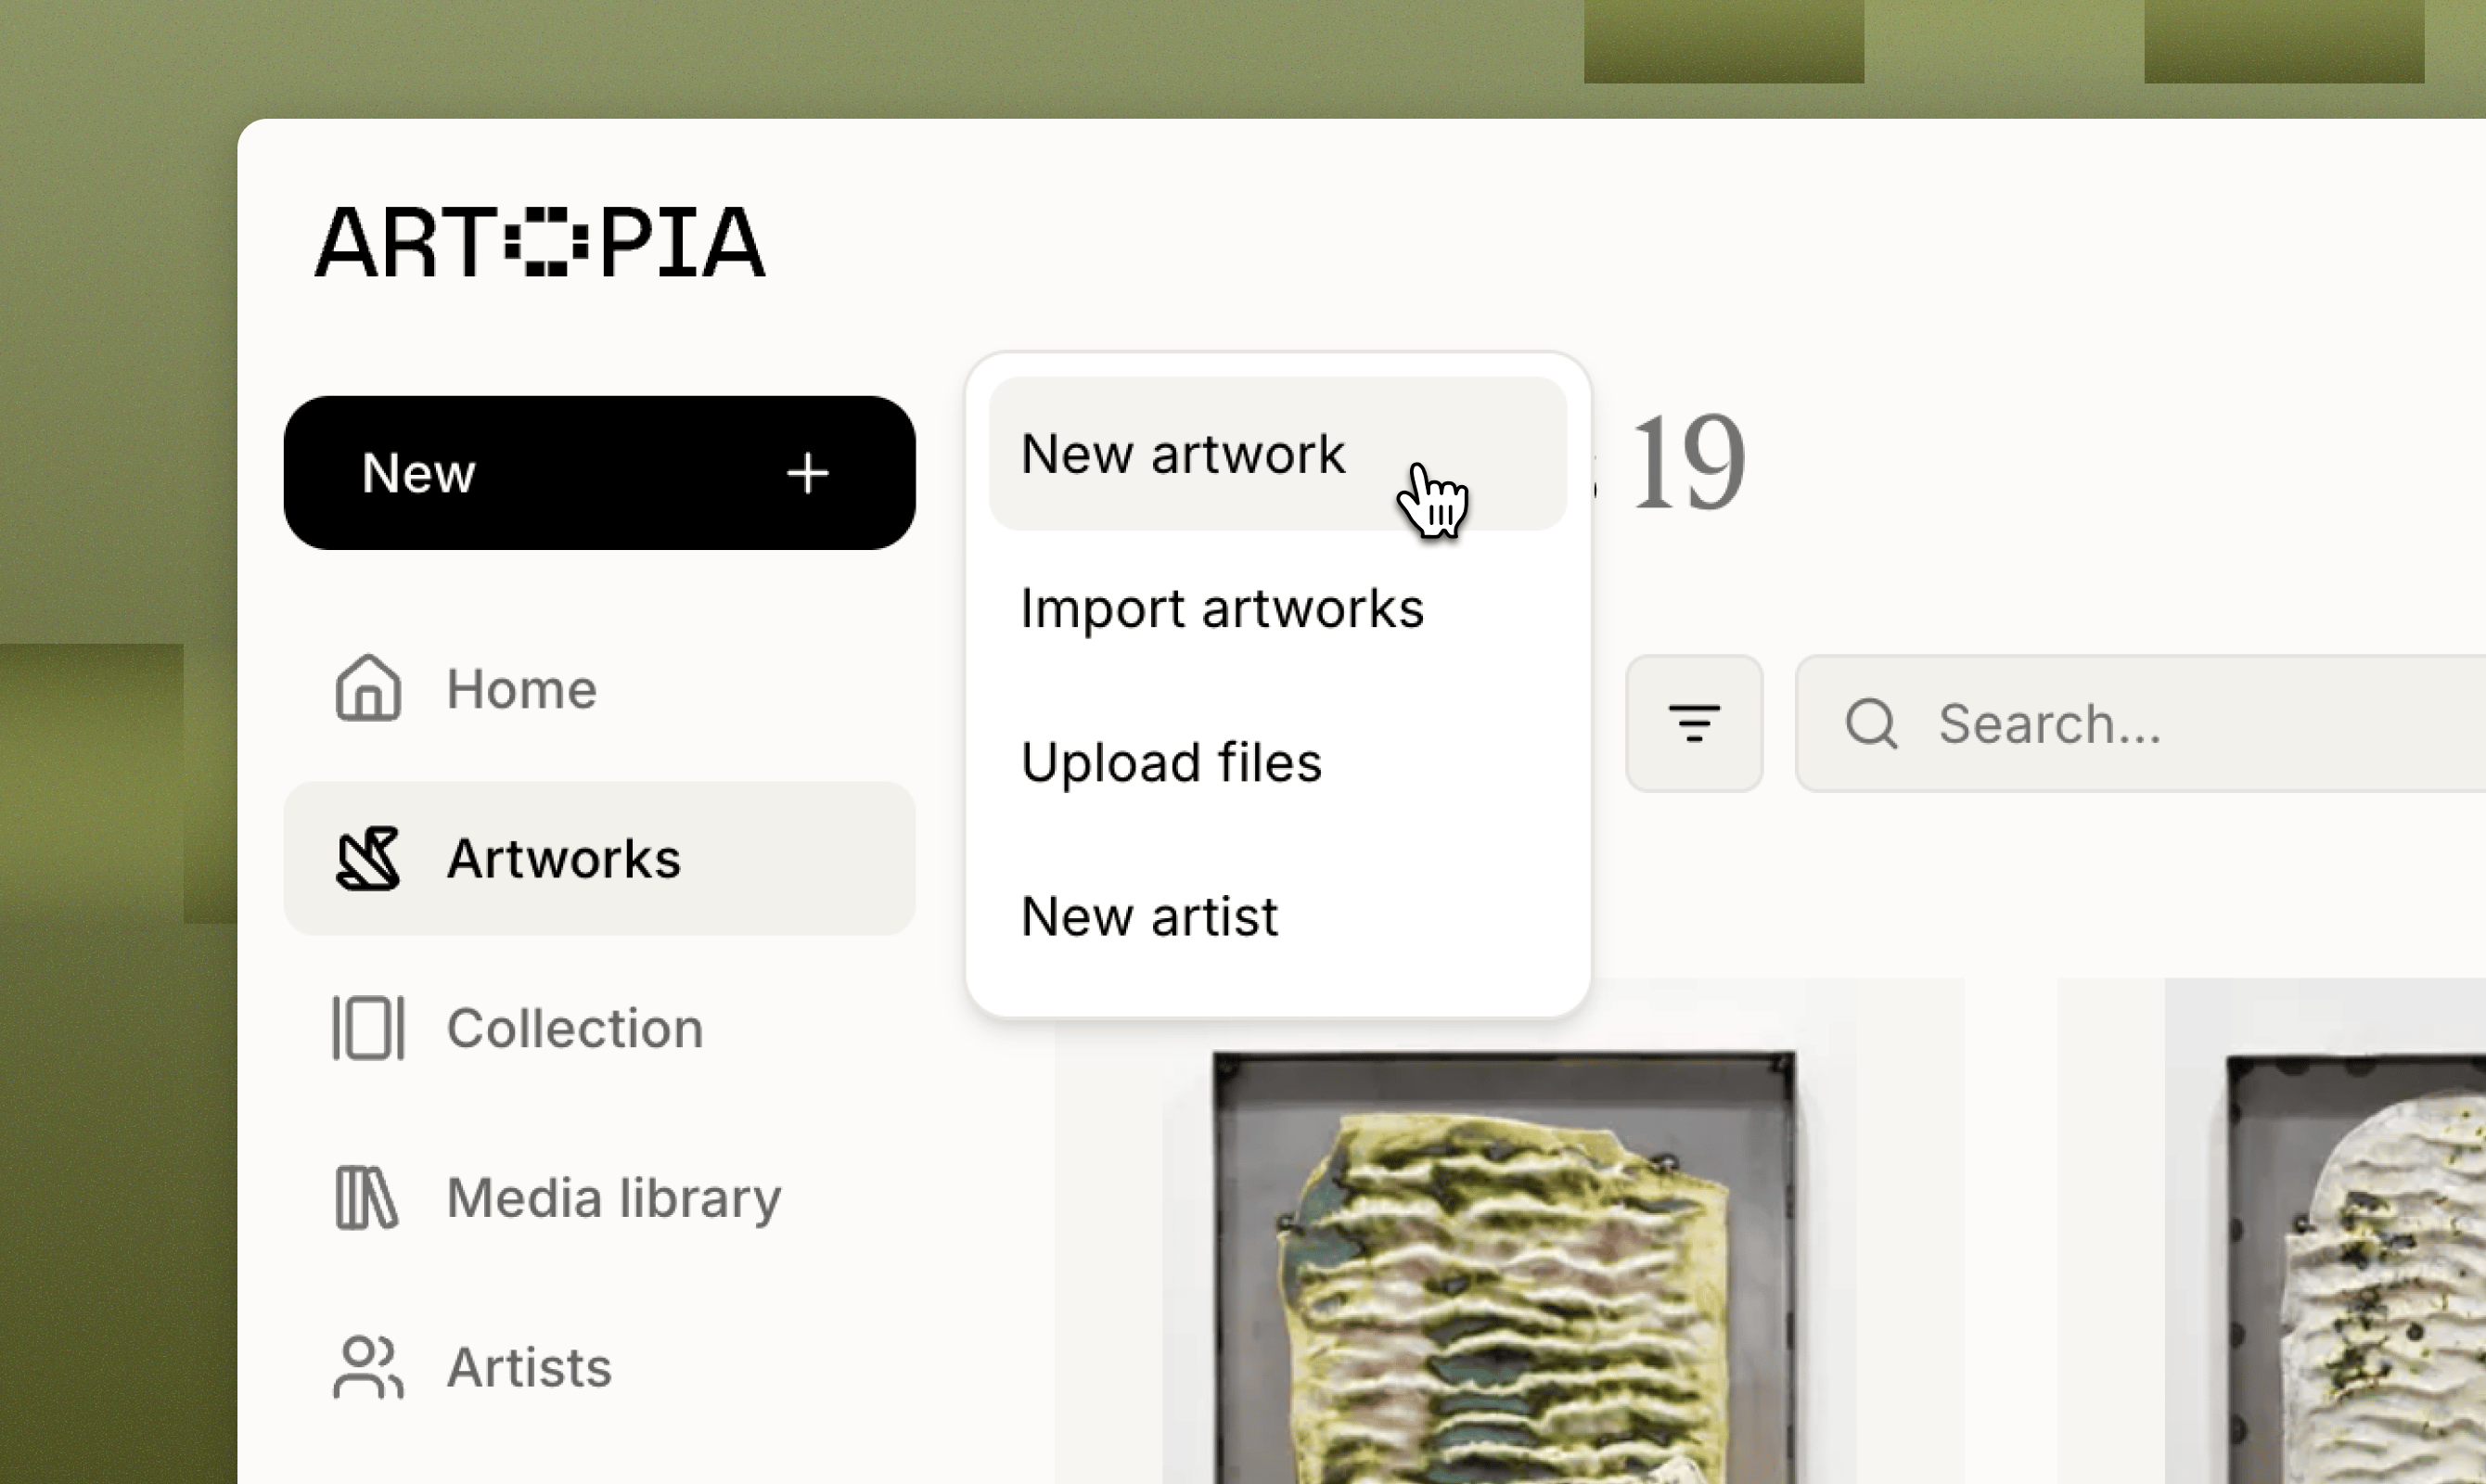
Once you're logged in, click **New** in the top navigation bar and select **Add artwork**. The only field you need to fill in to save a record is the artist's name. Every other detail (title, medium, dimensions, year, provenance, and so on) is entirely optional. Add as much or as little information as you have available; you can always come back and fill in the rest later.
Use **series** and **tags** to group related works and make your collection easy to browse. Assign a single series to an artwork to place it within a defined body of work, for example, a specific project or period. Apply as many tags as you like to the same artwork to flag themes, locations, mediums, or any other attributes that cut across multiple series. Together, series and tags give you both a structured hierarchy and a flexible, freeform way to filter your collection.
When you're ready to share your work, head to the **Collection** page and toggle your collection to **Public**. Artopia generates a shareable URL that you can send to clients, collaborators, or anyone else you'd like to give a read-only view of your catalogue with no Artopia account required on their end.
You don't have to build your collection from scratch. Artopia supports importing existing records from a CSV or spreadsheet, so you can bring in a catalogue you've already started elsewhere in one go. See [Importing Data](/data/importing-data) for full instructions.
Learn about every field available on an artwork record and how to get the most out of them.
Bring your existing catalogue into Artopia by importing a CSV or spreadsheet.
If you have any questions, reach out at [hello@art-opia.com](mailto:hello@art-opia.com)
## Related topics
- [Manage artists in your collection ](/features/artists.md)
- [Your public collection](/features/public-collection.md)
- [Welcome to Artopia](/learn/welcome-to-artopia.md)
This guide walks you through everything you need to go from a blank slate to a fully organised art collection. By the end, you'll have an Artopia account, your first artwork on record, and a structure in place to keep your collection growing neatly.
Go to [app.art-opia.com/signup](https://app.art-opia.com/signup) and register with your email address. No credit card is required to get started. The free plan gives you room for up to 50 artworks and 2 GB of storage straight away.
Once you're logged in, click **New** in the top navigation bar and select **Add artwork**. The only field you need to fill in to save a record is the artist's name. Every other detail (title, medium, dimensions, year, provenance, and so on) is entirely optional. Add as much or as little information as you have available; you can always come back and fill in the rest later.
Use **series** and **tags** to group related works and make your collection easy to browse. Assign a single series to an artwork to place it within a defined body of work, for example, a specific project or period. Apply as many tags as you like to the same artwork to flag themes, locations, mediums, or any other attributes that cut across multiple series. Together, series and tags give you both a structured hierarchy and a flexible, freeform way to filter your collection.
When you're ready to share your work, head to the **Collection** page and toggle your collection to **Public**. Artopia generates a shareable URL that you can send to clients, collaborators, or anyone else you'd like to give a read-only view of your catalogue with no Artopia account required on their end.
You don't have to build your collection from scratch. Artopia supports importing existing records from a CSV or spreadsheet, so you can bring in a catalogue you've already started elsewhere in one go. See [Importing Data](/data/importing-data) for full instructions.
Learn about every field available on an artwork record and how to get the most out of them.
Bring your existing catalogue into Artopia by importing a CSV or spreadsheet.
If you have any questions, reach out at [hello@art-opia.com](mailto:hello@art-opia.com)
## Related topics
- [Manage artists in your collection ](/features/artists.md)
- [Your public collection](/features/public-collection.md)
- [Welcome to Artopia](/learn/welcome-to-artopia.md)