
Get started
Create your account and add your first artwork in minutes
Artwork records
Learn how to create and manage detailed artwork records
Public collection
Share a selection of works with a shareable URL
Creating PDFs
Generate professional PDF reports for insurance, sales, and more
What you can do with Artopia
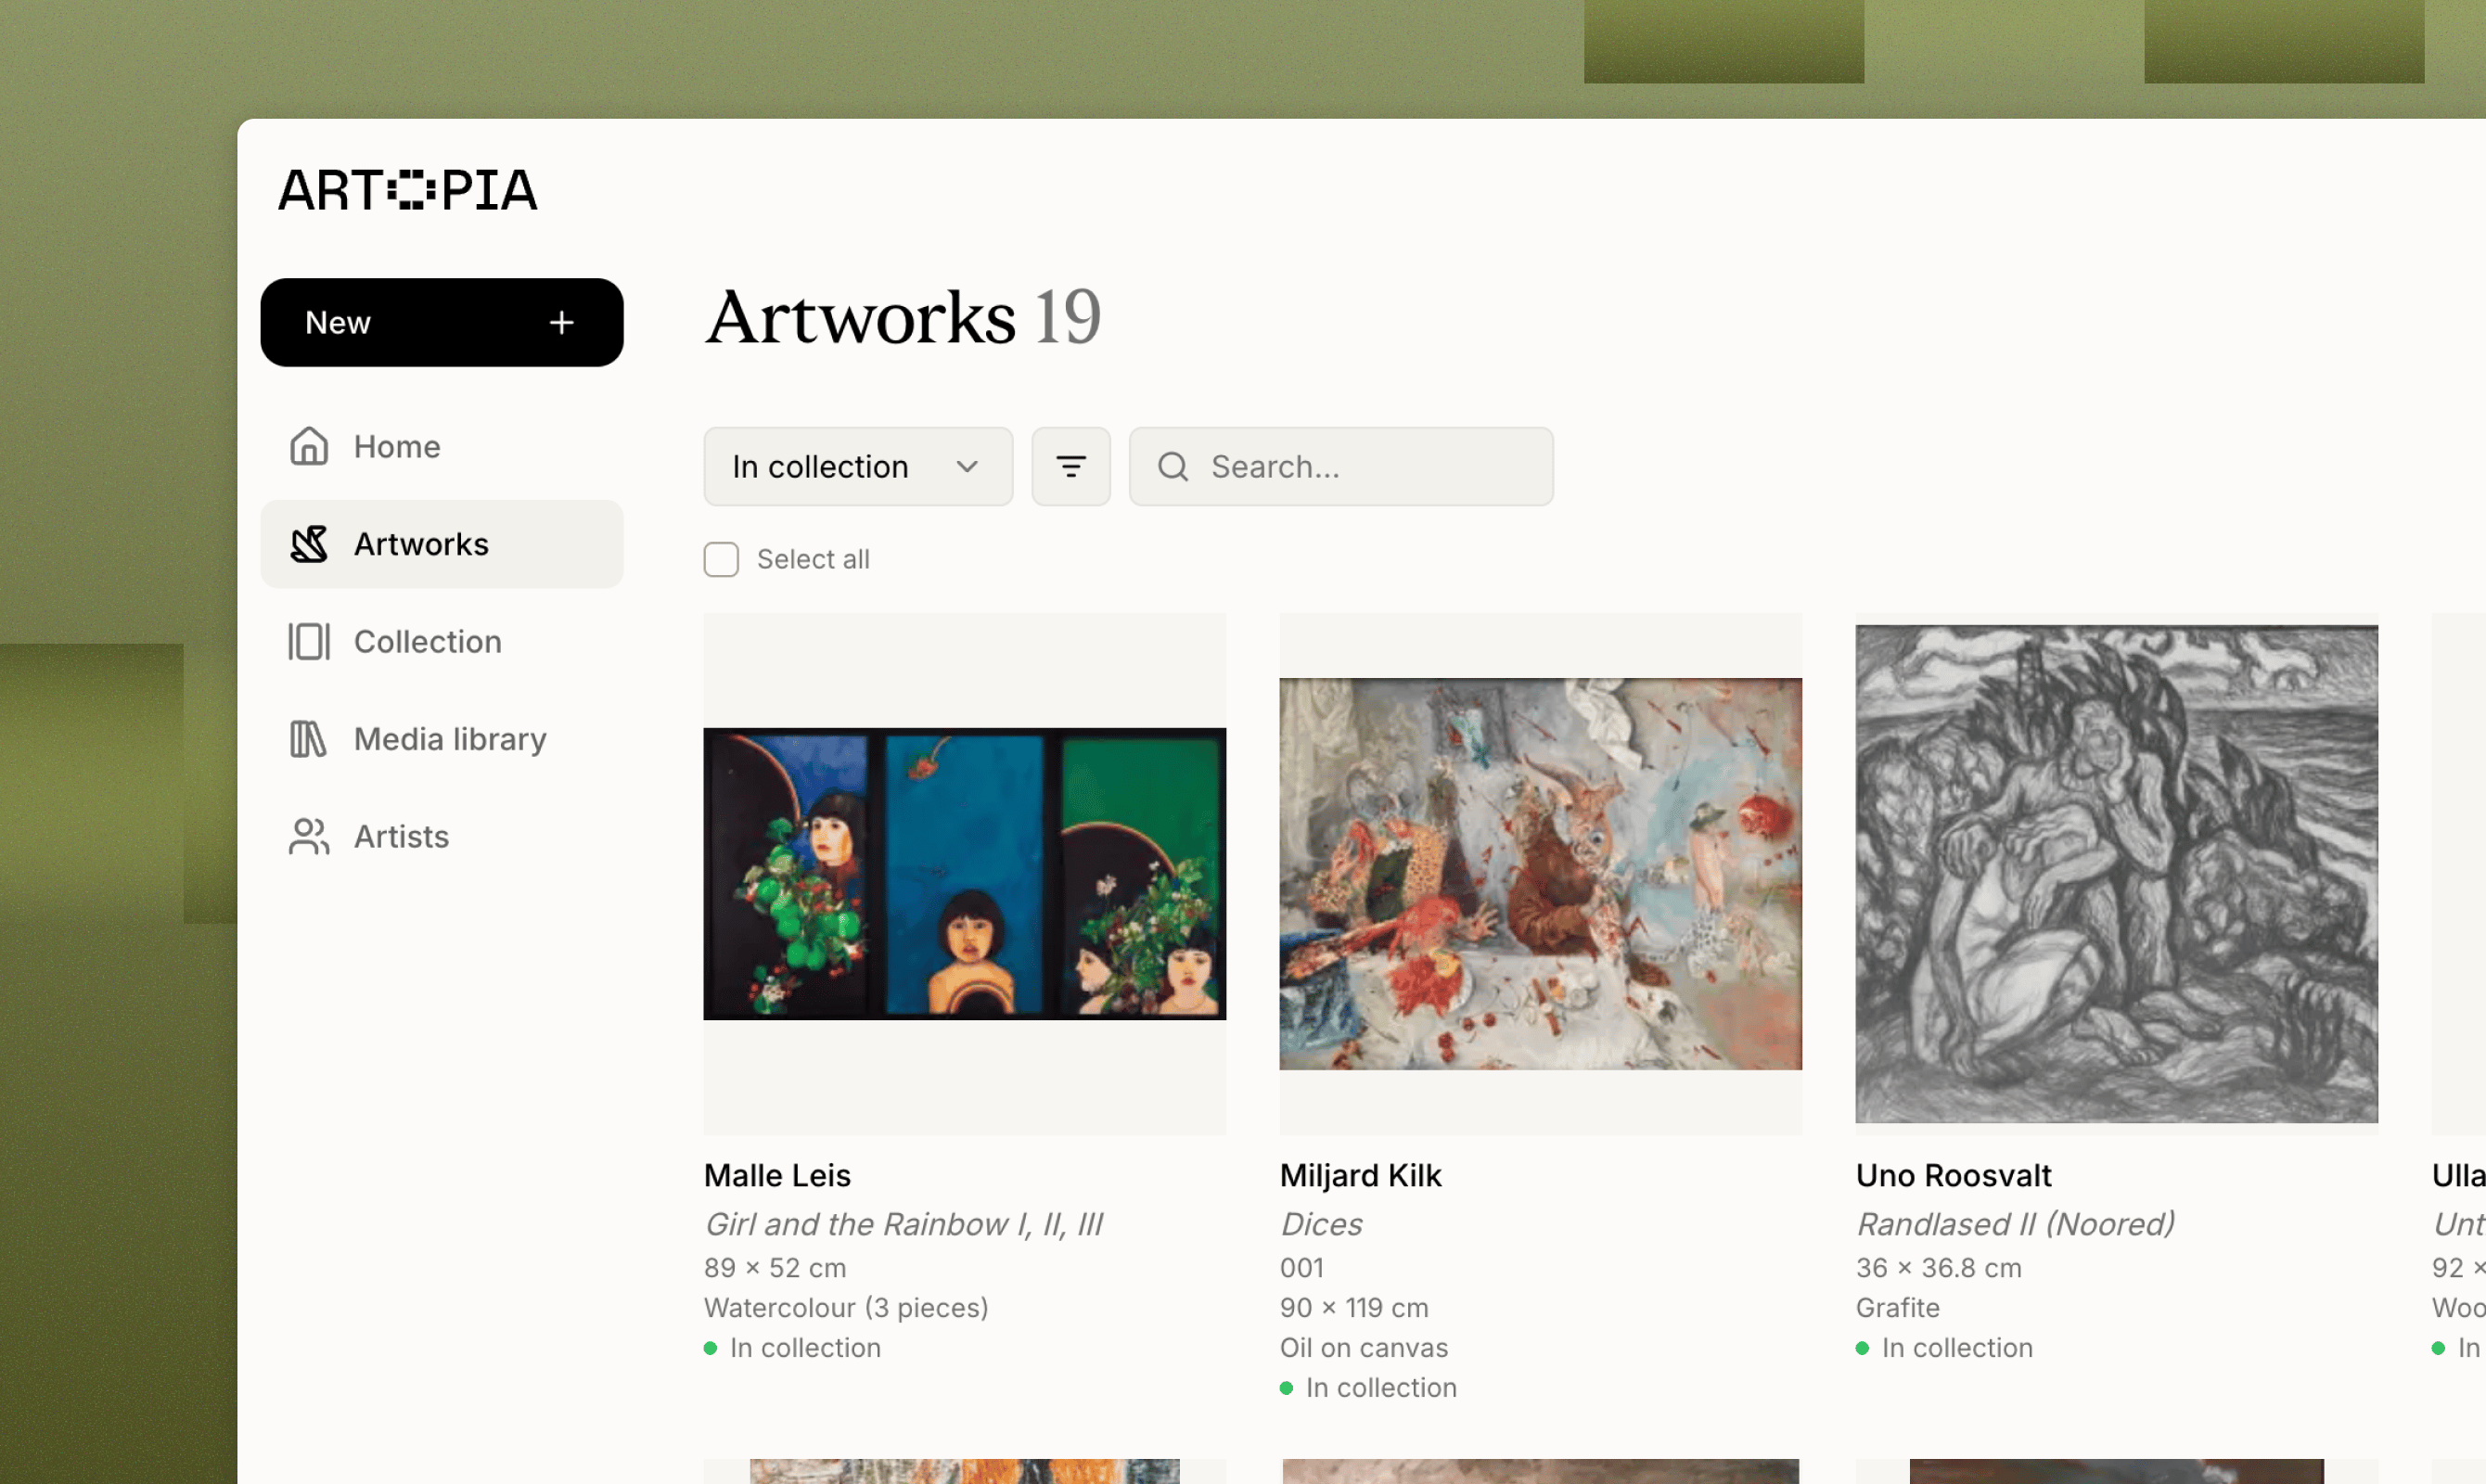
Artopia covers the full inventory management of an art collection:- Track artworks in your collection: Record artist, title, dimensions, medium, provenance, condition, and more for each artwork.
- Store images and documents: Attach multiple photos and files like certificates of authenticity, invoices, and appraisals to every record.
- Organise with series and tags: Group related works or label them by motif, style, or any criteria that fits how you think.
- Track collection value: The Insights panel totals your purchase values, shows document coverage, and breaks down acquisitions by source and year.
- Share publicly: Give your collection a public page with a custom URL that visitors can browse on desktop and mobile.
- Export professional PDFs: Create branded artwork sheets, insurance records, provenance reports, and sale proposals in one click.
- Import and export data: Bring in existing records via CSV or spreadsheet, and export everything at any time.
Who Artopia is for
Artopia is built first and foremost for art collectors. Whether you’re cataloguing your very first piece or overseeing an extensive, long-established collection. It’s designed to suit every kind of collecting profile, from private collectors and corporate collections to private museums and institutional holdings. However many works you own, Artopia scales with you. It also serves everyone else who works closely with art collections:- Artists managing their own body of work and studio inventory
- Art advisors organising records across multiple clients
- Galleries tracking available and sold works
- Auction houses documenting consignments and sales history
- Museums documenting and organising artwork records
hello@art-opia.com
Send us an email and we’re happy to help.
Book a demo
Schedule a 20 min demo with one of our team members.